
Q & A
Answering the 5 most frequently asked questions I get as a botanical artist. From kit and paper, to nervous beginnings. All the advice and all the answers.

Can I Ask You…?
I can’t quite believe how long it has been since I picked up a brush to begin this rollercoaster ride into botanical painting. To think that starting out as a complete beginner (and I really do mean that) would lead me to a point where people are asking me how to paint is really quite a ‘pinch me’ moment.
Much of my own practise has been through trial and error, finding out what works, and perhaps more importantly, what doesn’t. Here’s what I have learnt over the 10+ years I have been painting.
Q1. How did you start botanical painting?
A:
As a geography teacher I had no idea about botanical painting and made lots of really bad mistakes at the start. My only ‘art’ experience was a BTec in Graphic Design which I had studied when I was 17, and apart from the diagrams and nice worksheets I had designed as teaching aids for my students, I hadn’t picked up a paint brush in years.
I think the spark was always there, and the opportunity that ill health, feeling low, and having a lot of time on my hands had thrown at me, the time was never going to be better. It’s often when we are at our lowest that we rise the highest
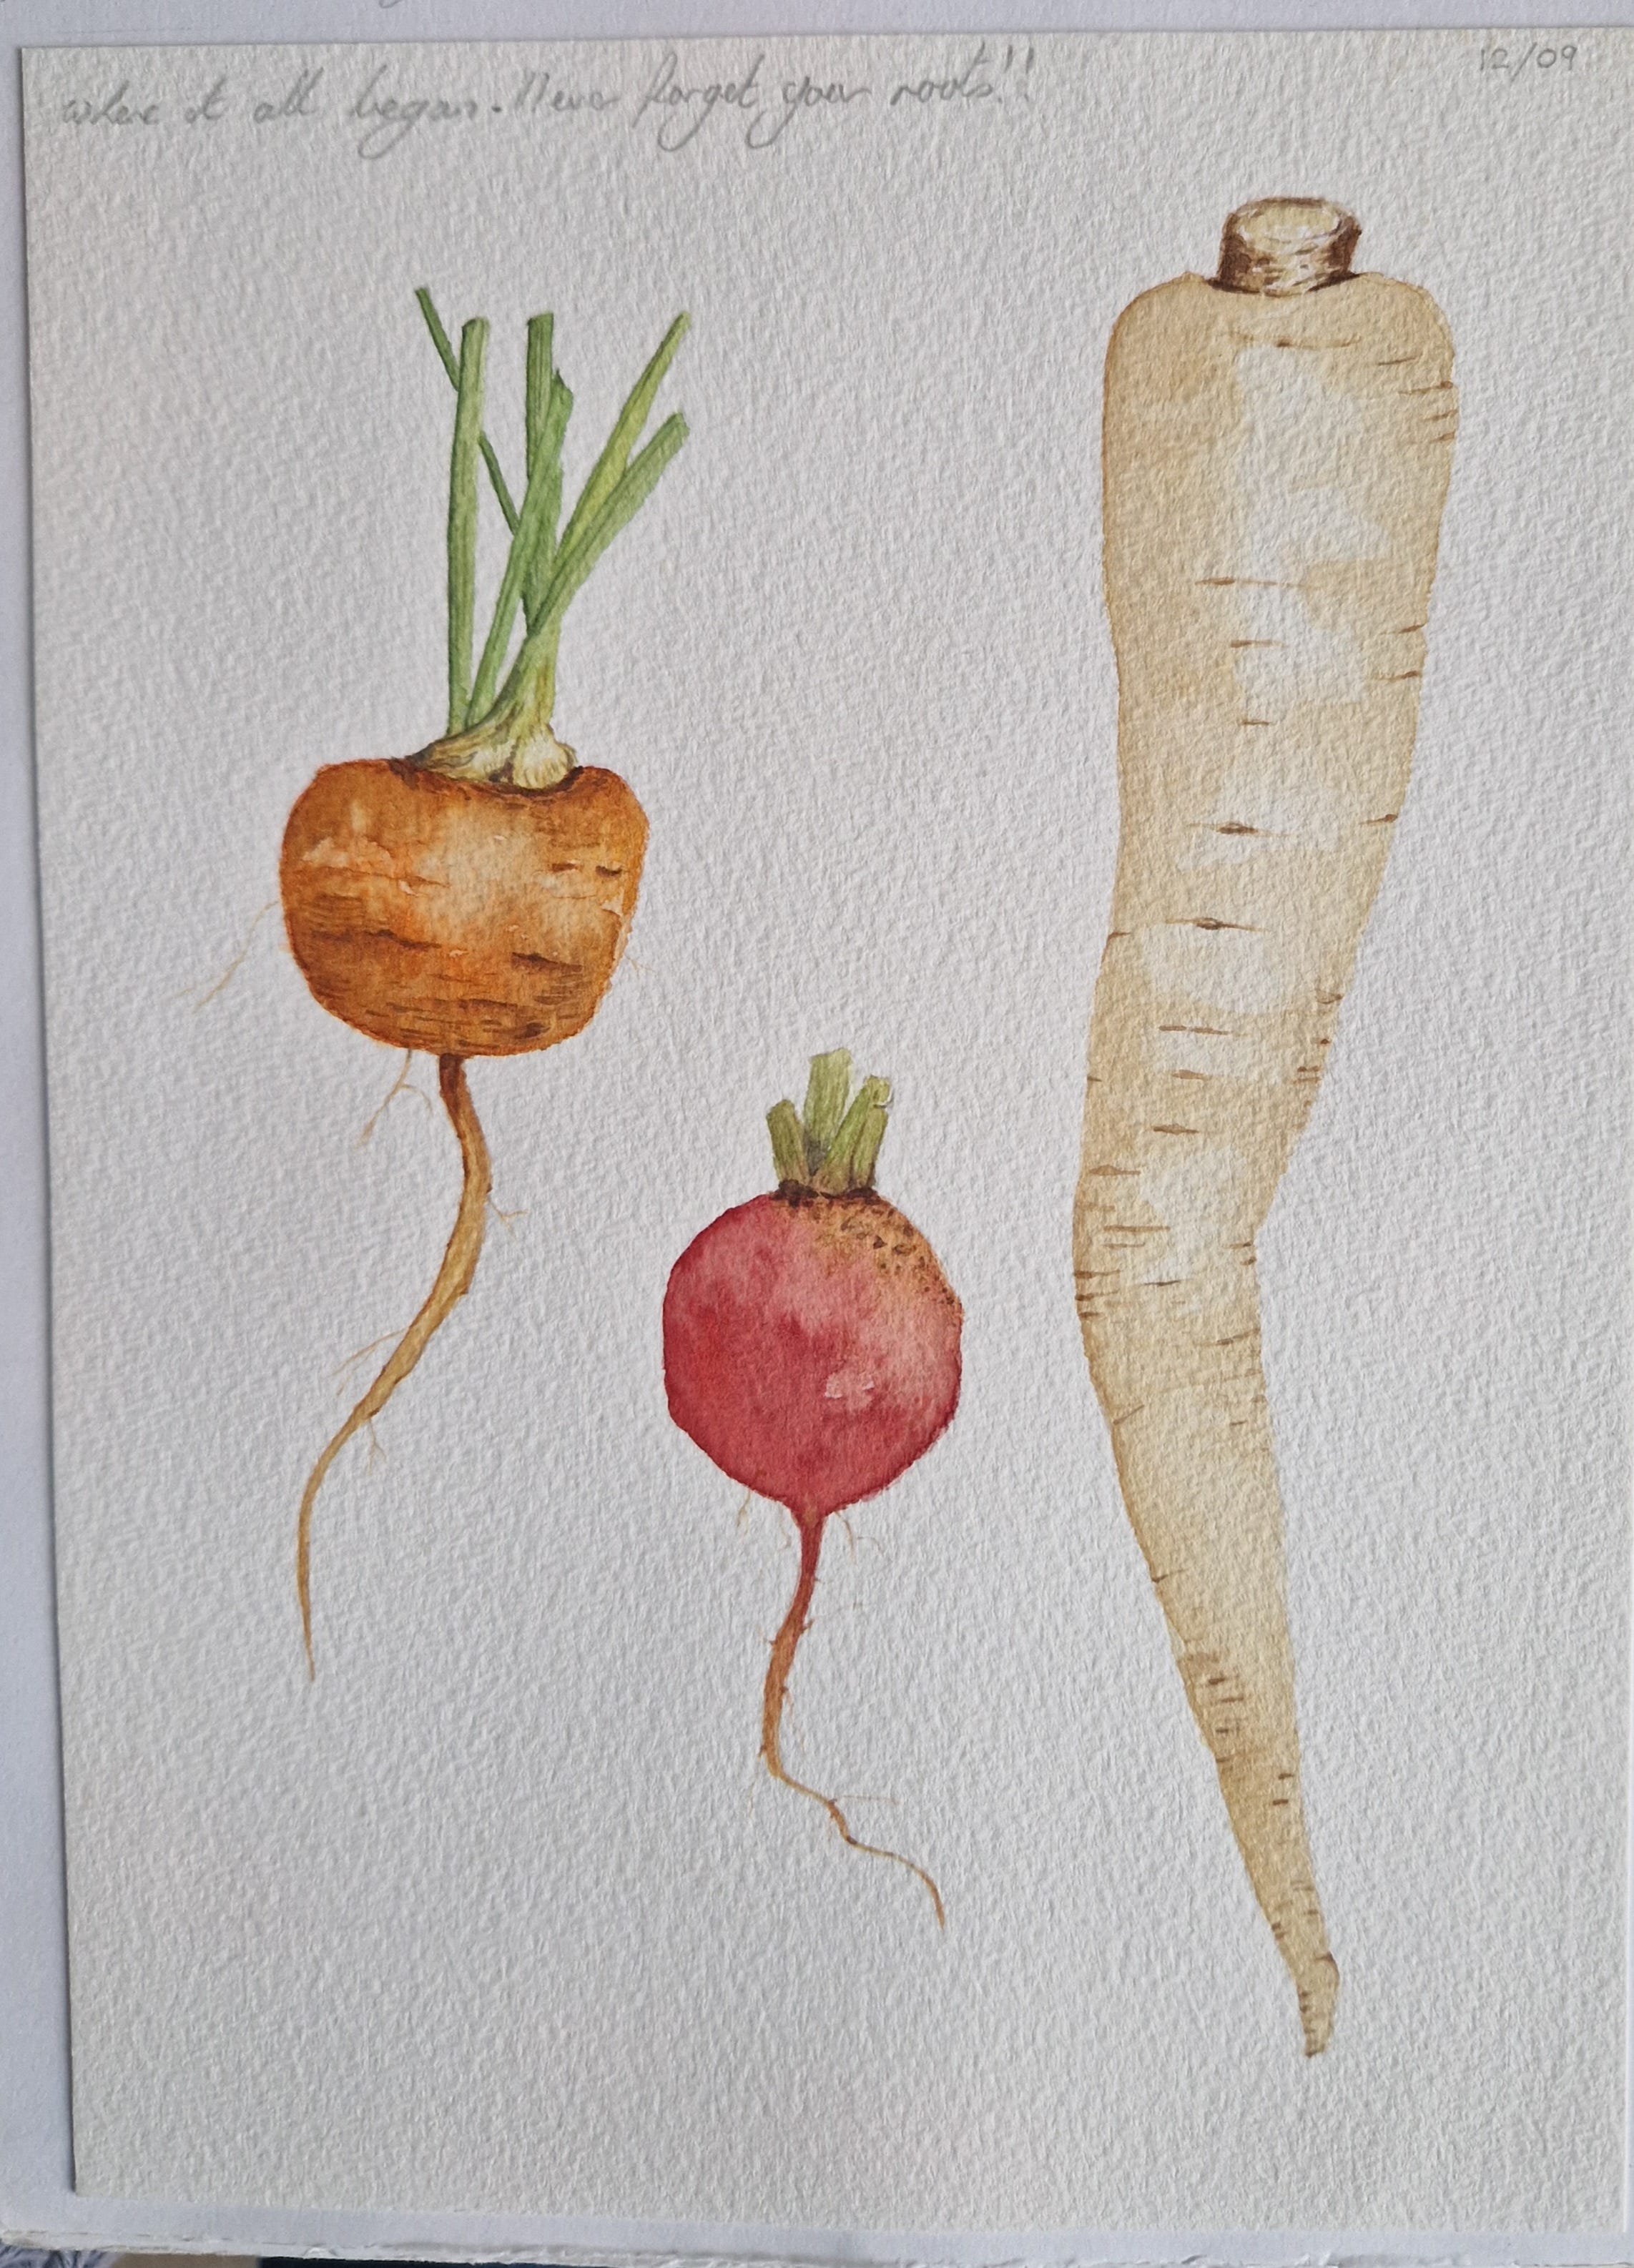
And here’s how it started. My very first botanical painting from December 2009.
Q2. What’s the biggest lesson you have learnt?
A:
Never fear making a mistake. It’s so easy to get frustrated and give up. The hard part is finding a solution. When you do, it’s the most satisfying process you can go through as an artist. And you learn something for next time.
Take time away from a problem. Think it through carefully and with a clear mind. Find the solution, and stick to it. If it doesn’t give you the result you want, don’t give up. It’s easy to give up, keep going and every day will bring a new lesson.
Takeaway Tip:
Find time to play
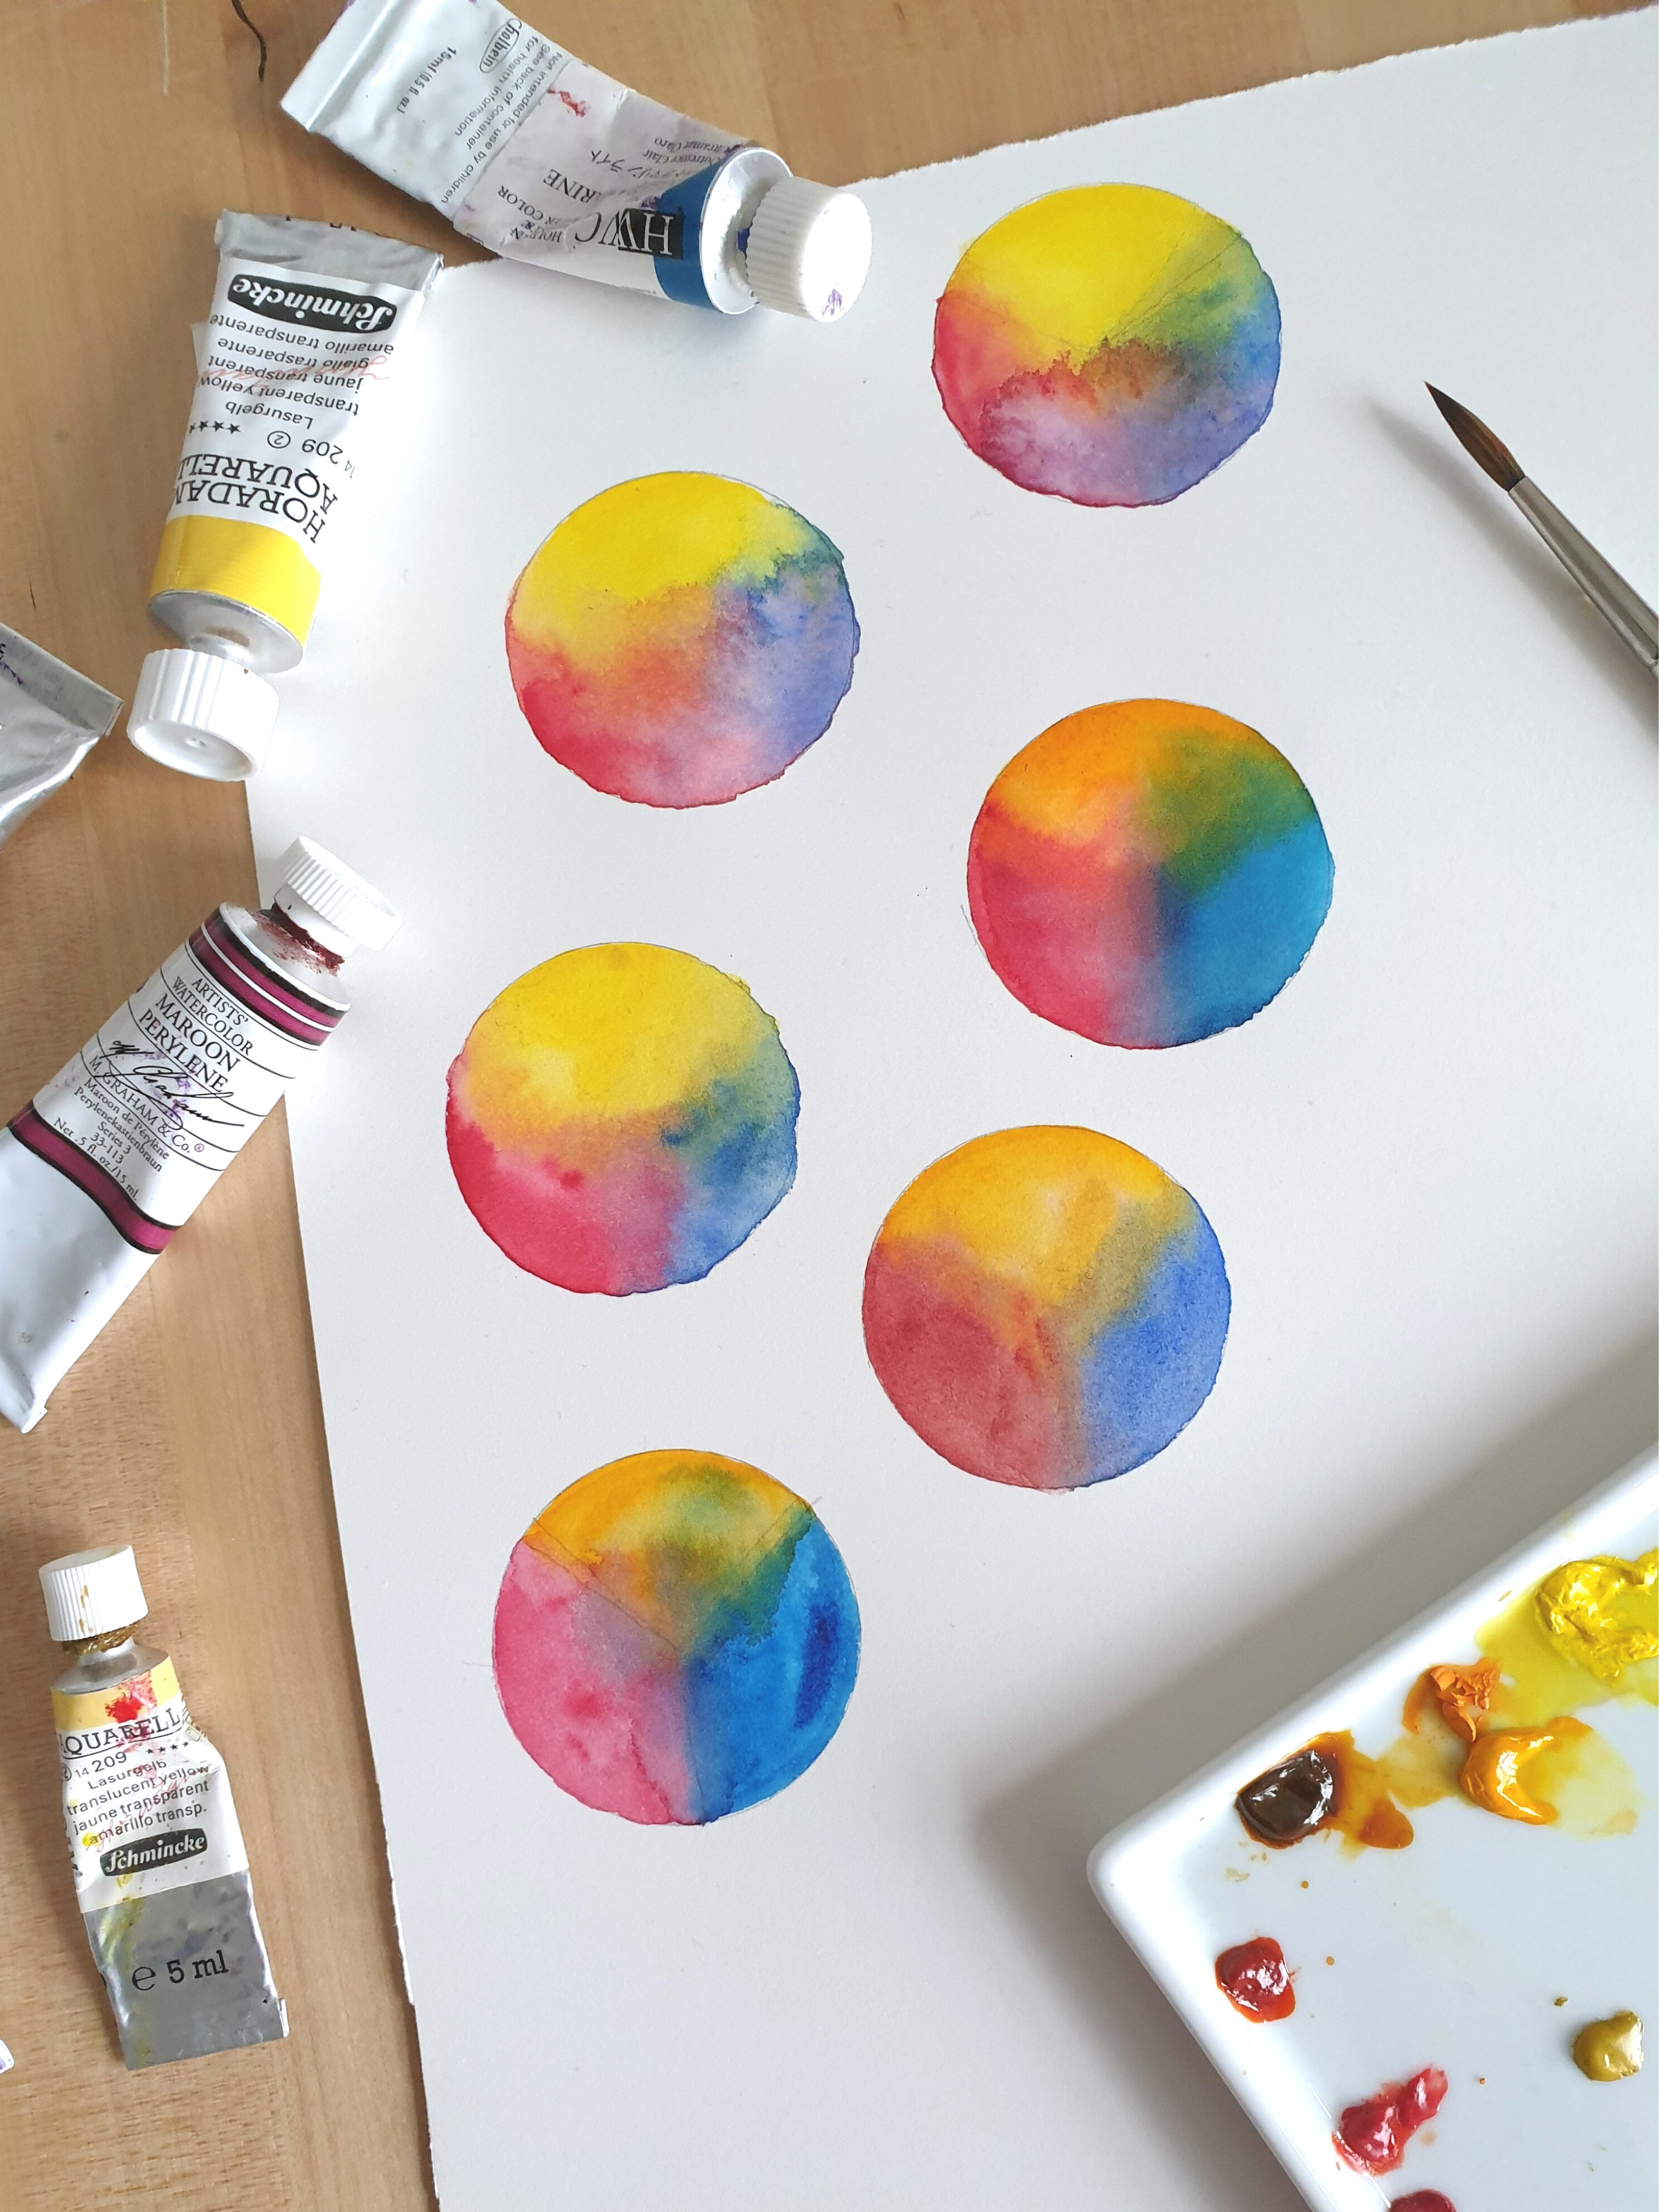
Take three primaries and see what you can mix with them. It’s easy to get a new colour and use it straight from the tube, but you can learn so much more about the colours on your palette if you limit the number you use and just see where it takes you.
Q3. Do you ever get nervous starting a new piece?
A:
Oh gosh, YES! Breaking through that first brushstroke to get paint on the great expanse of white paper can be extremely daunting. Even with experience and planning there can be problems and challenges to overcome. My biggest challenge was the RHS Tulips. Producing one painting at that level is hard enough, but 6! That’s scary.
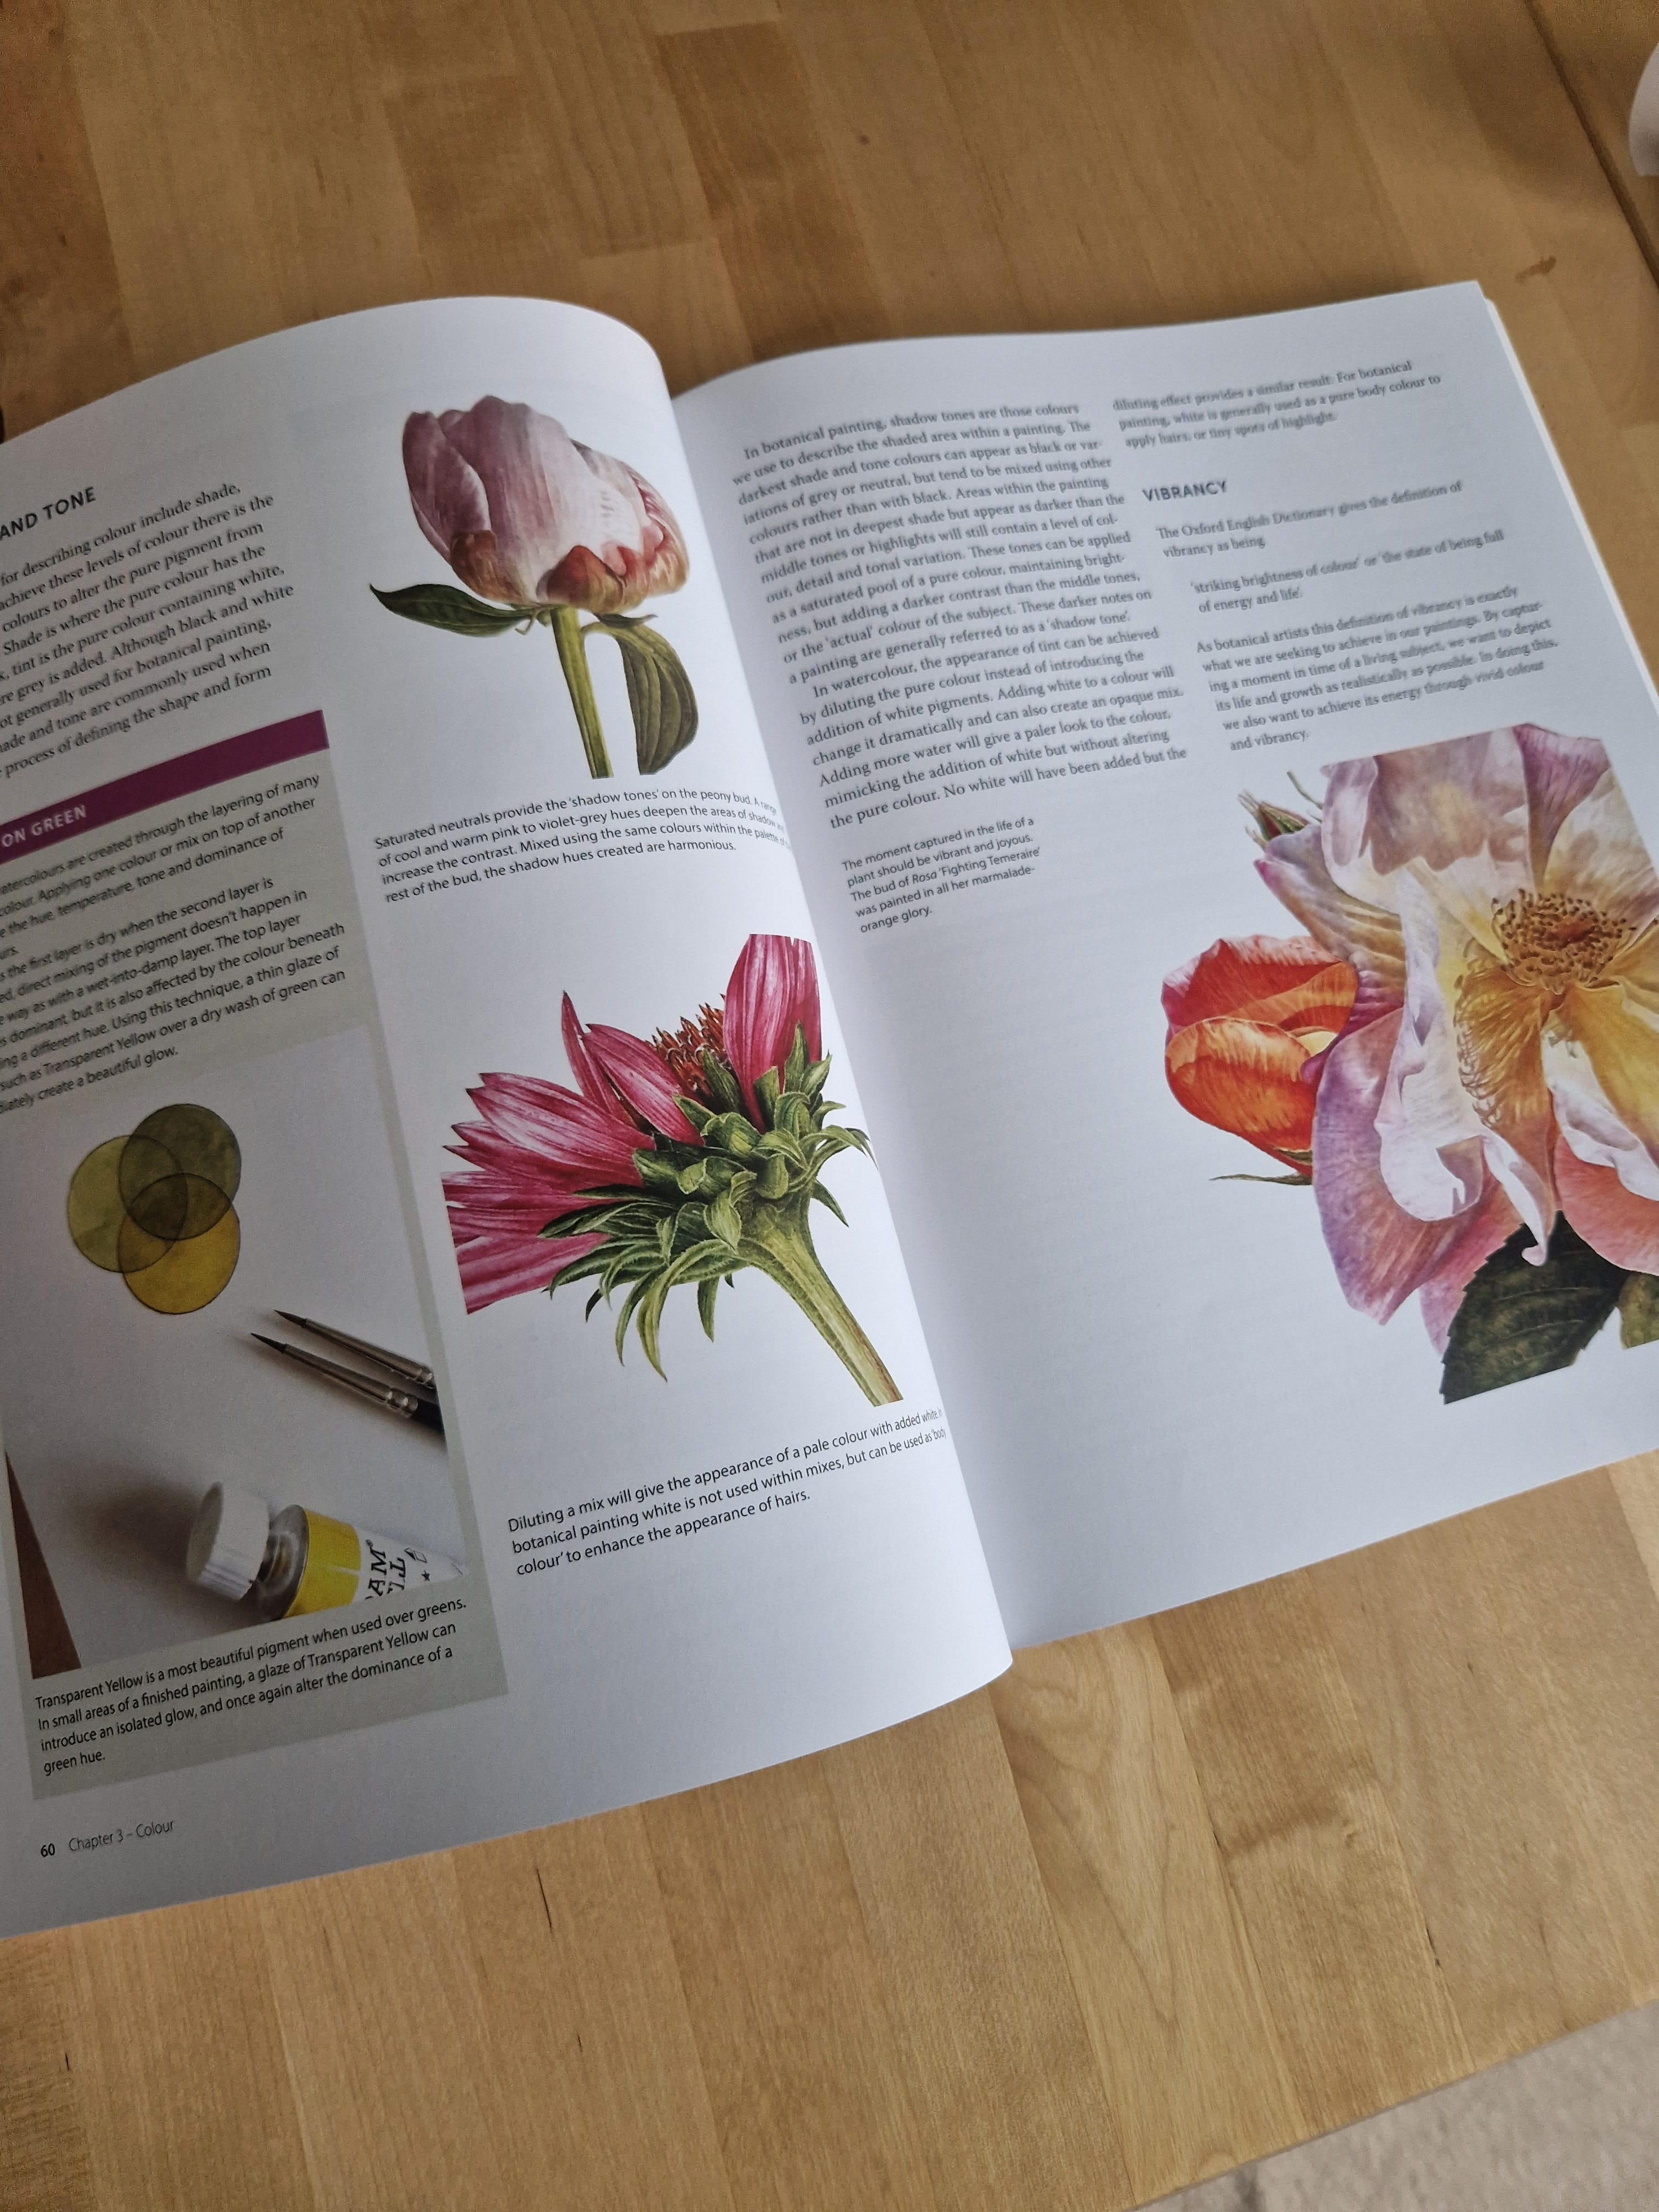
The echinacea had taught me a lot. Not only about how I paint, but how I feel about painting. When things go horribly wrong but you just keep going, it’s a demonstration of our own inner strength.
Everything about my practice, along with the trials, errors and successes went into my book, ‘Vibrant Botanical Painting: The life of plants in watercolour’. Published by The Crowood Press.
Q4. Have you got any favourite bits of kit?
A:
Mostly I have gathered things over a long time. Finding what works best for me isn’t always what’s best for someone else. We all have our favourite brushes and paints, so here’s mine. I used to love using the Fabriano Artistico Hot Press paper until they changed their sizing treatment. I do still have a couple of sheets left, but for a series of works I was starting I needed the same paper for continuity. I got into using Arches Hot Press Paper, and have stuck with it. It is very smooth, and some artists say it’s a bit difficult to work on, but I really like it.
For brushes I am quite happy to use anything. I can be quite an ‘animated’ artist, and can be quite harsh with my brushes. I do have some lovely Winsor & Newton Series 7 miniatures, but Pro Arte Connoisseur with their blend of sable and synthetic fibres can handle a bit of rough handling.
I have always used Winsor & Newton Professional Watercolours in tubes, but also have Daniel Smith and a few others. For Transparent Yellow I will always use Schmincke. It looks dreadful on the palette, but gives the most amazing depth in mixes, and is fabulous as a zingy glaze over greens where you want a bit of extra glow.
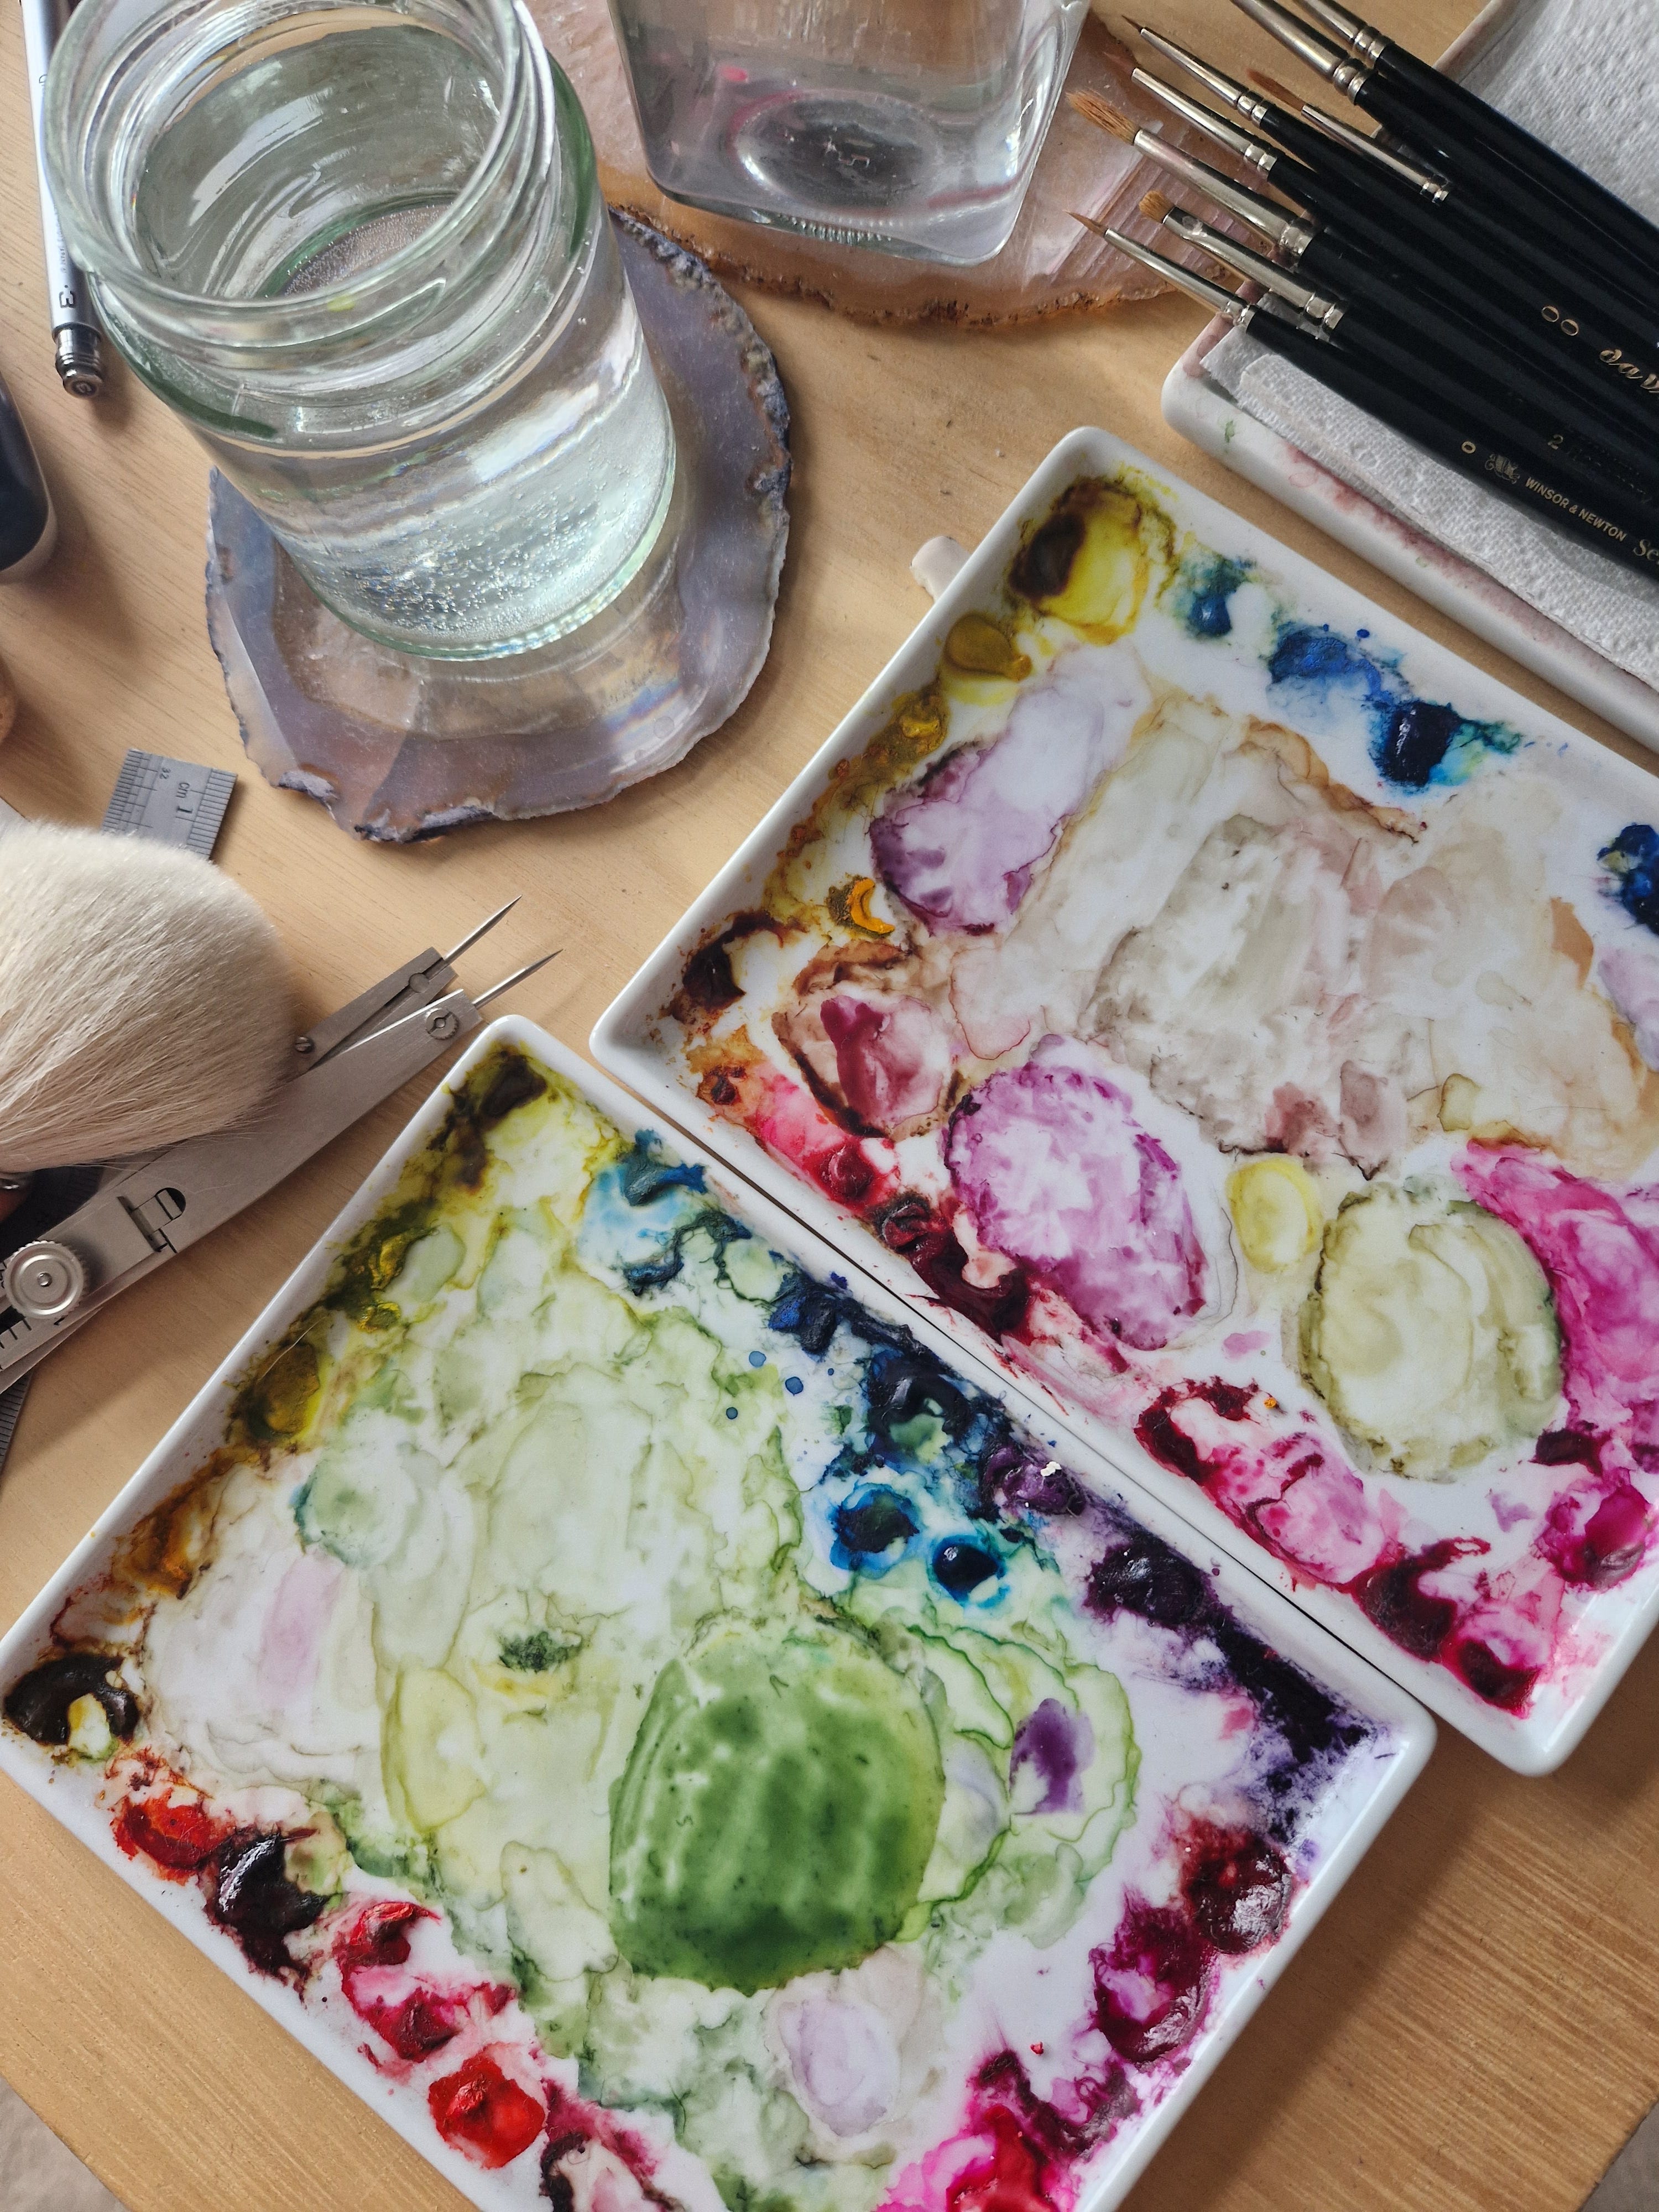
Everything else is cheap and cheerful, especially treasured are the set of lovely ceramic palettes gifted to me by a friend from the US. They’re actually from a homeware store and small enough to allow me to have a couple on the go at once. I’ve had them for years, and they are cherished.
Q5. What’s the best piece of advice you’ve been given?
A:
There’s a couple of bits of wisdom that I swear by. The first one is from my dad, and if you’ve been around here a while, you’ll have heard this one a few times.
If you have to make a mistake, make a feature of it
Mistakes can’t always be corrected, so make a feature with decay, or something which will lessen the impact of the problem. Some of my best successes in paintings have been where I’ve had to add something to hide a problem.
The next piece of advice is about adding red to a green mix. I got this from the fabulous artist Sharon Tingey a good few years ago. Blue and yellow together can make lovely greens, but to knock the zingy edge off add a bit of red.
Takeaway Tip:
Play around with cool and warm mixes and add a touch of red such as Quinacridone Red, Anthraquinoid Red or Winsor Red.
Bonus Q: How did you find your style?
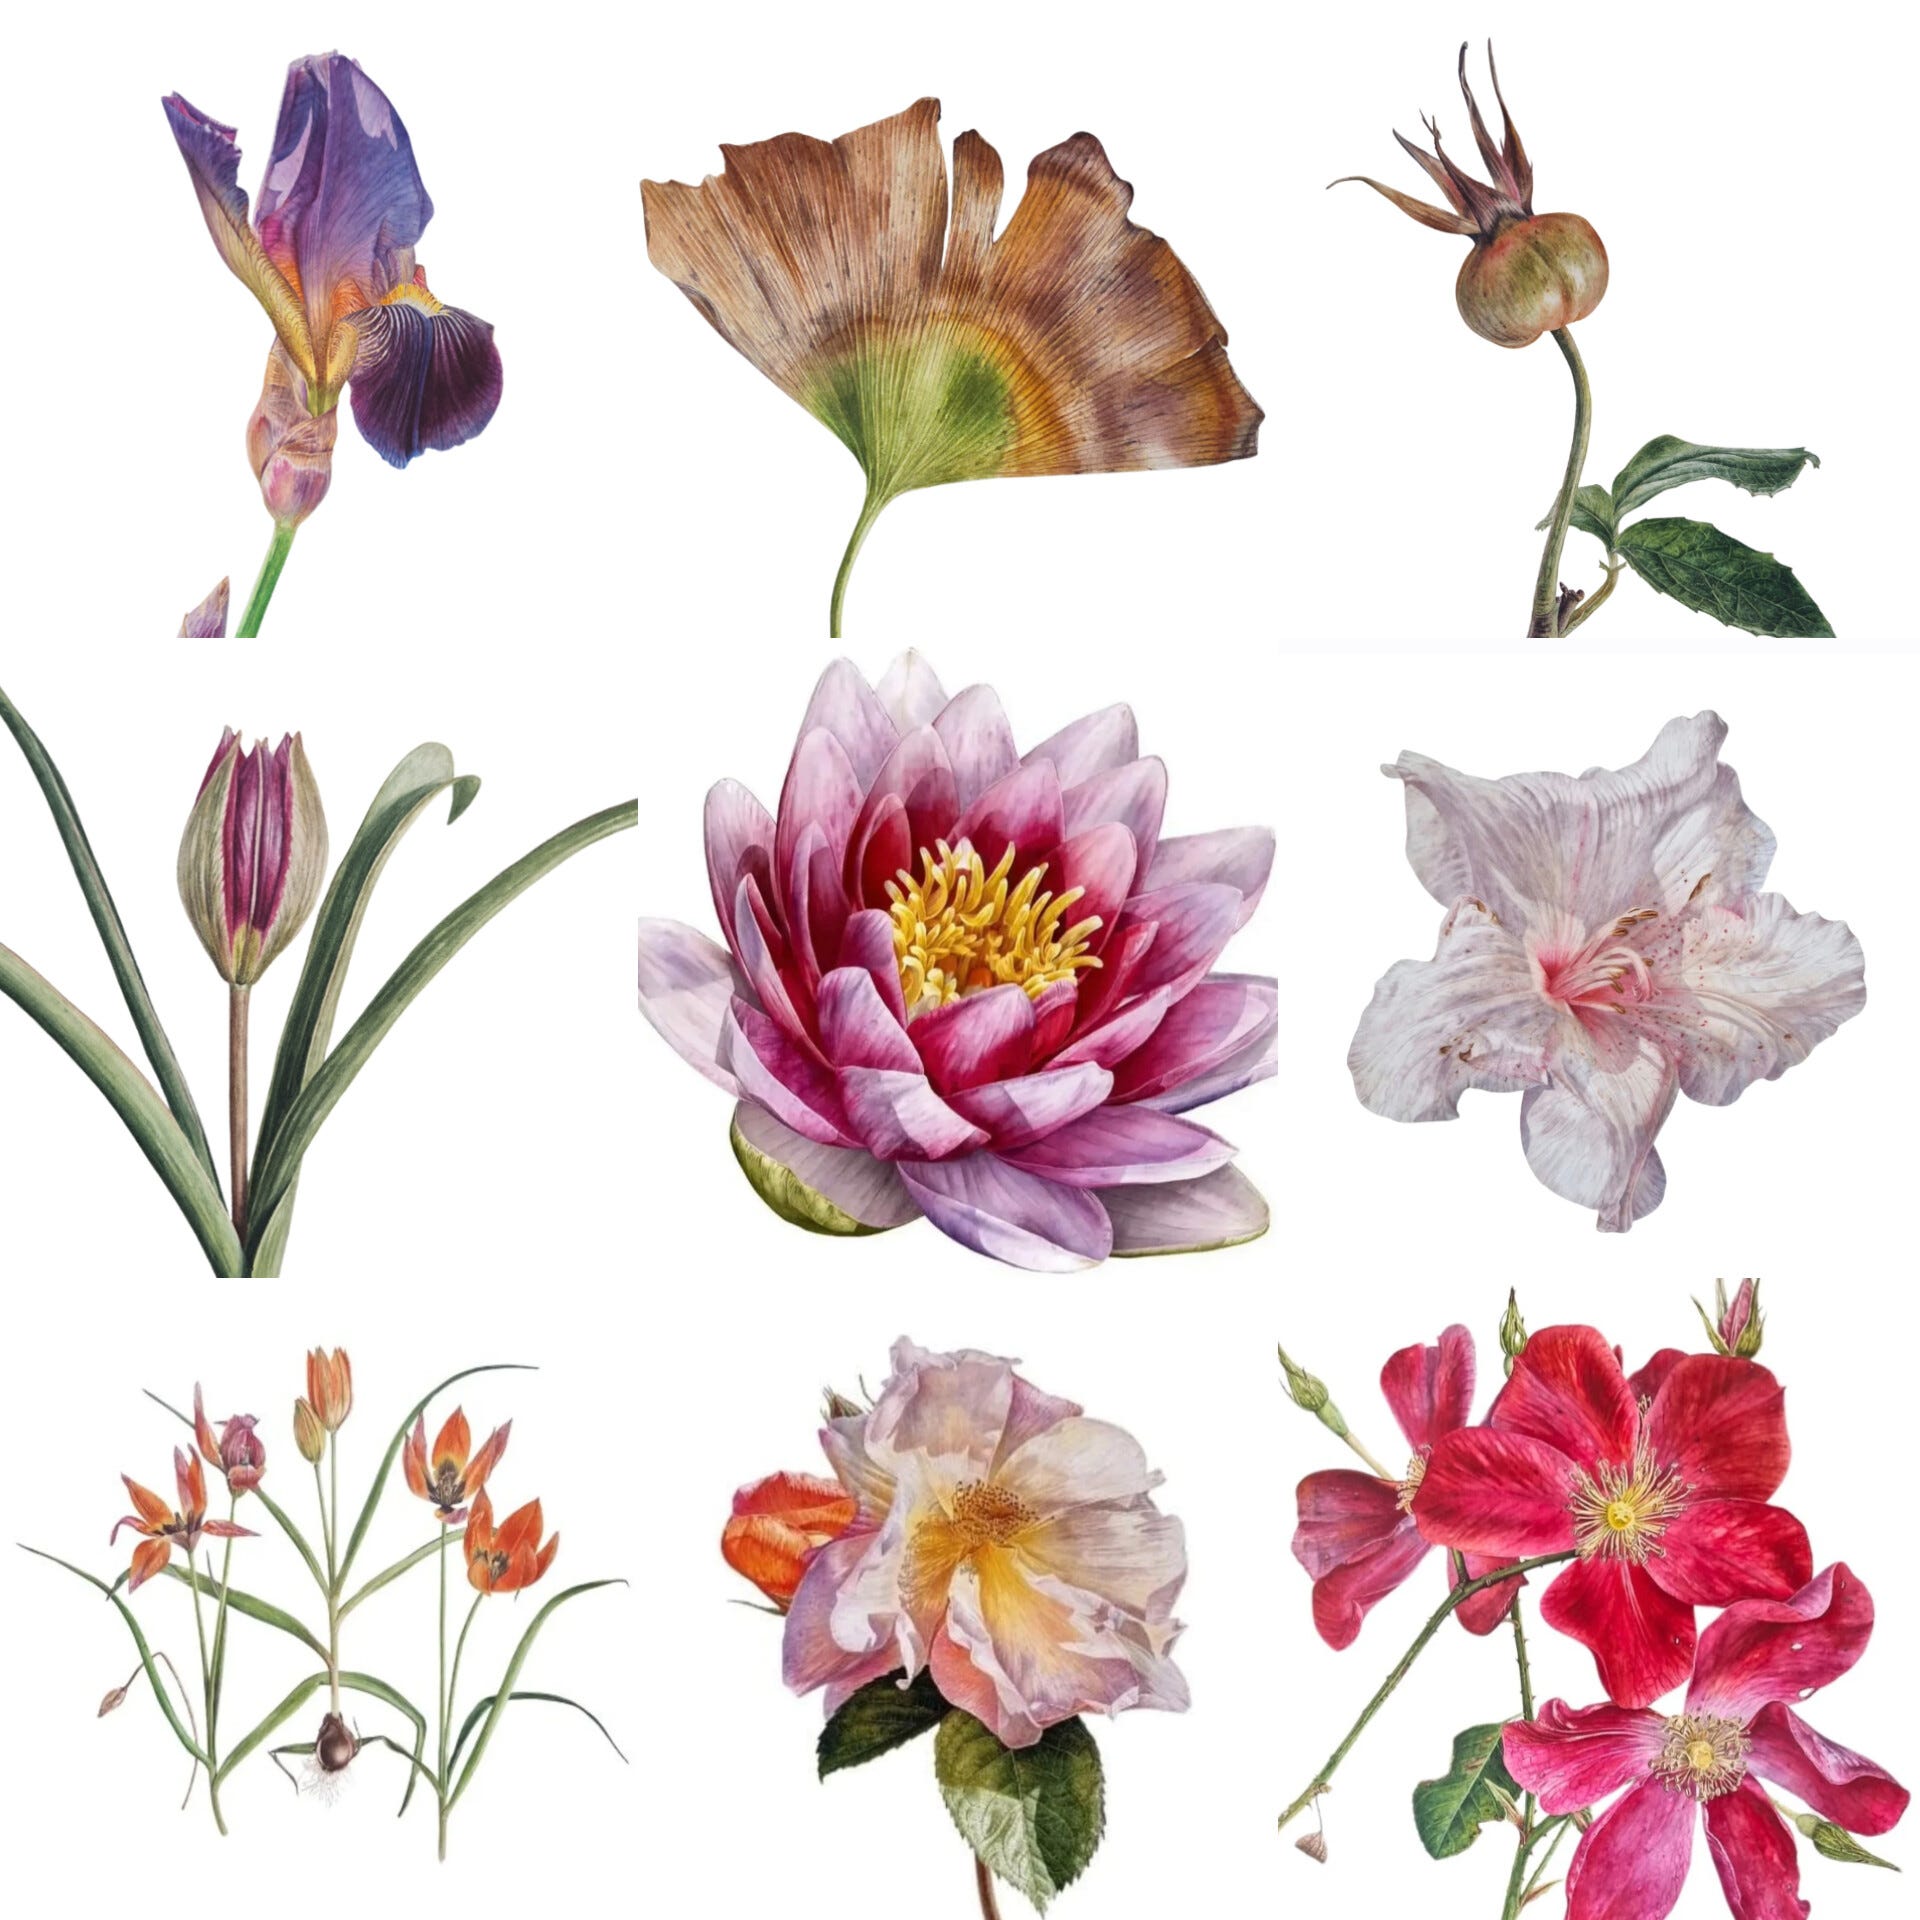
Time, and a good few fails. ‘Waterlily’ (see grid above) really was the lightbulb moment. I had been painting in a more traditional style, with the light quite flat and even, pieces at actual size and quite fiddly subjects with dainty details. After an unsuccessful bramble painting, I decided I needed to change up my mindset. I studied a lot of paintings from artists I admired and took inspiration. I practiced a few pieces and really enjoyed sizing up, and adding a lot more dynamic light to my paintings. With a background in technical drawing, I love statuesque and architectural subjects who have character and personality.
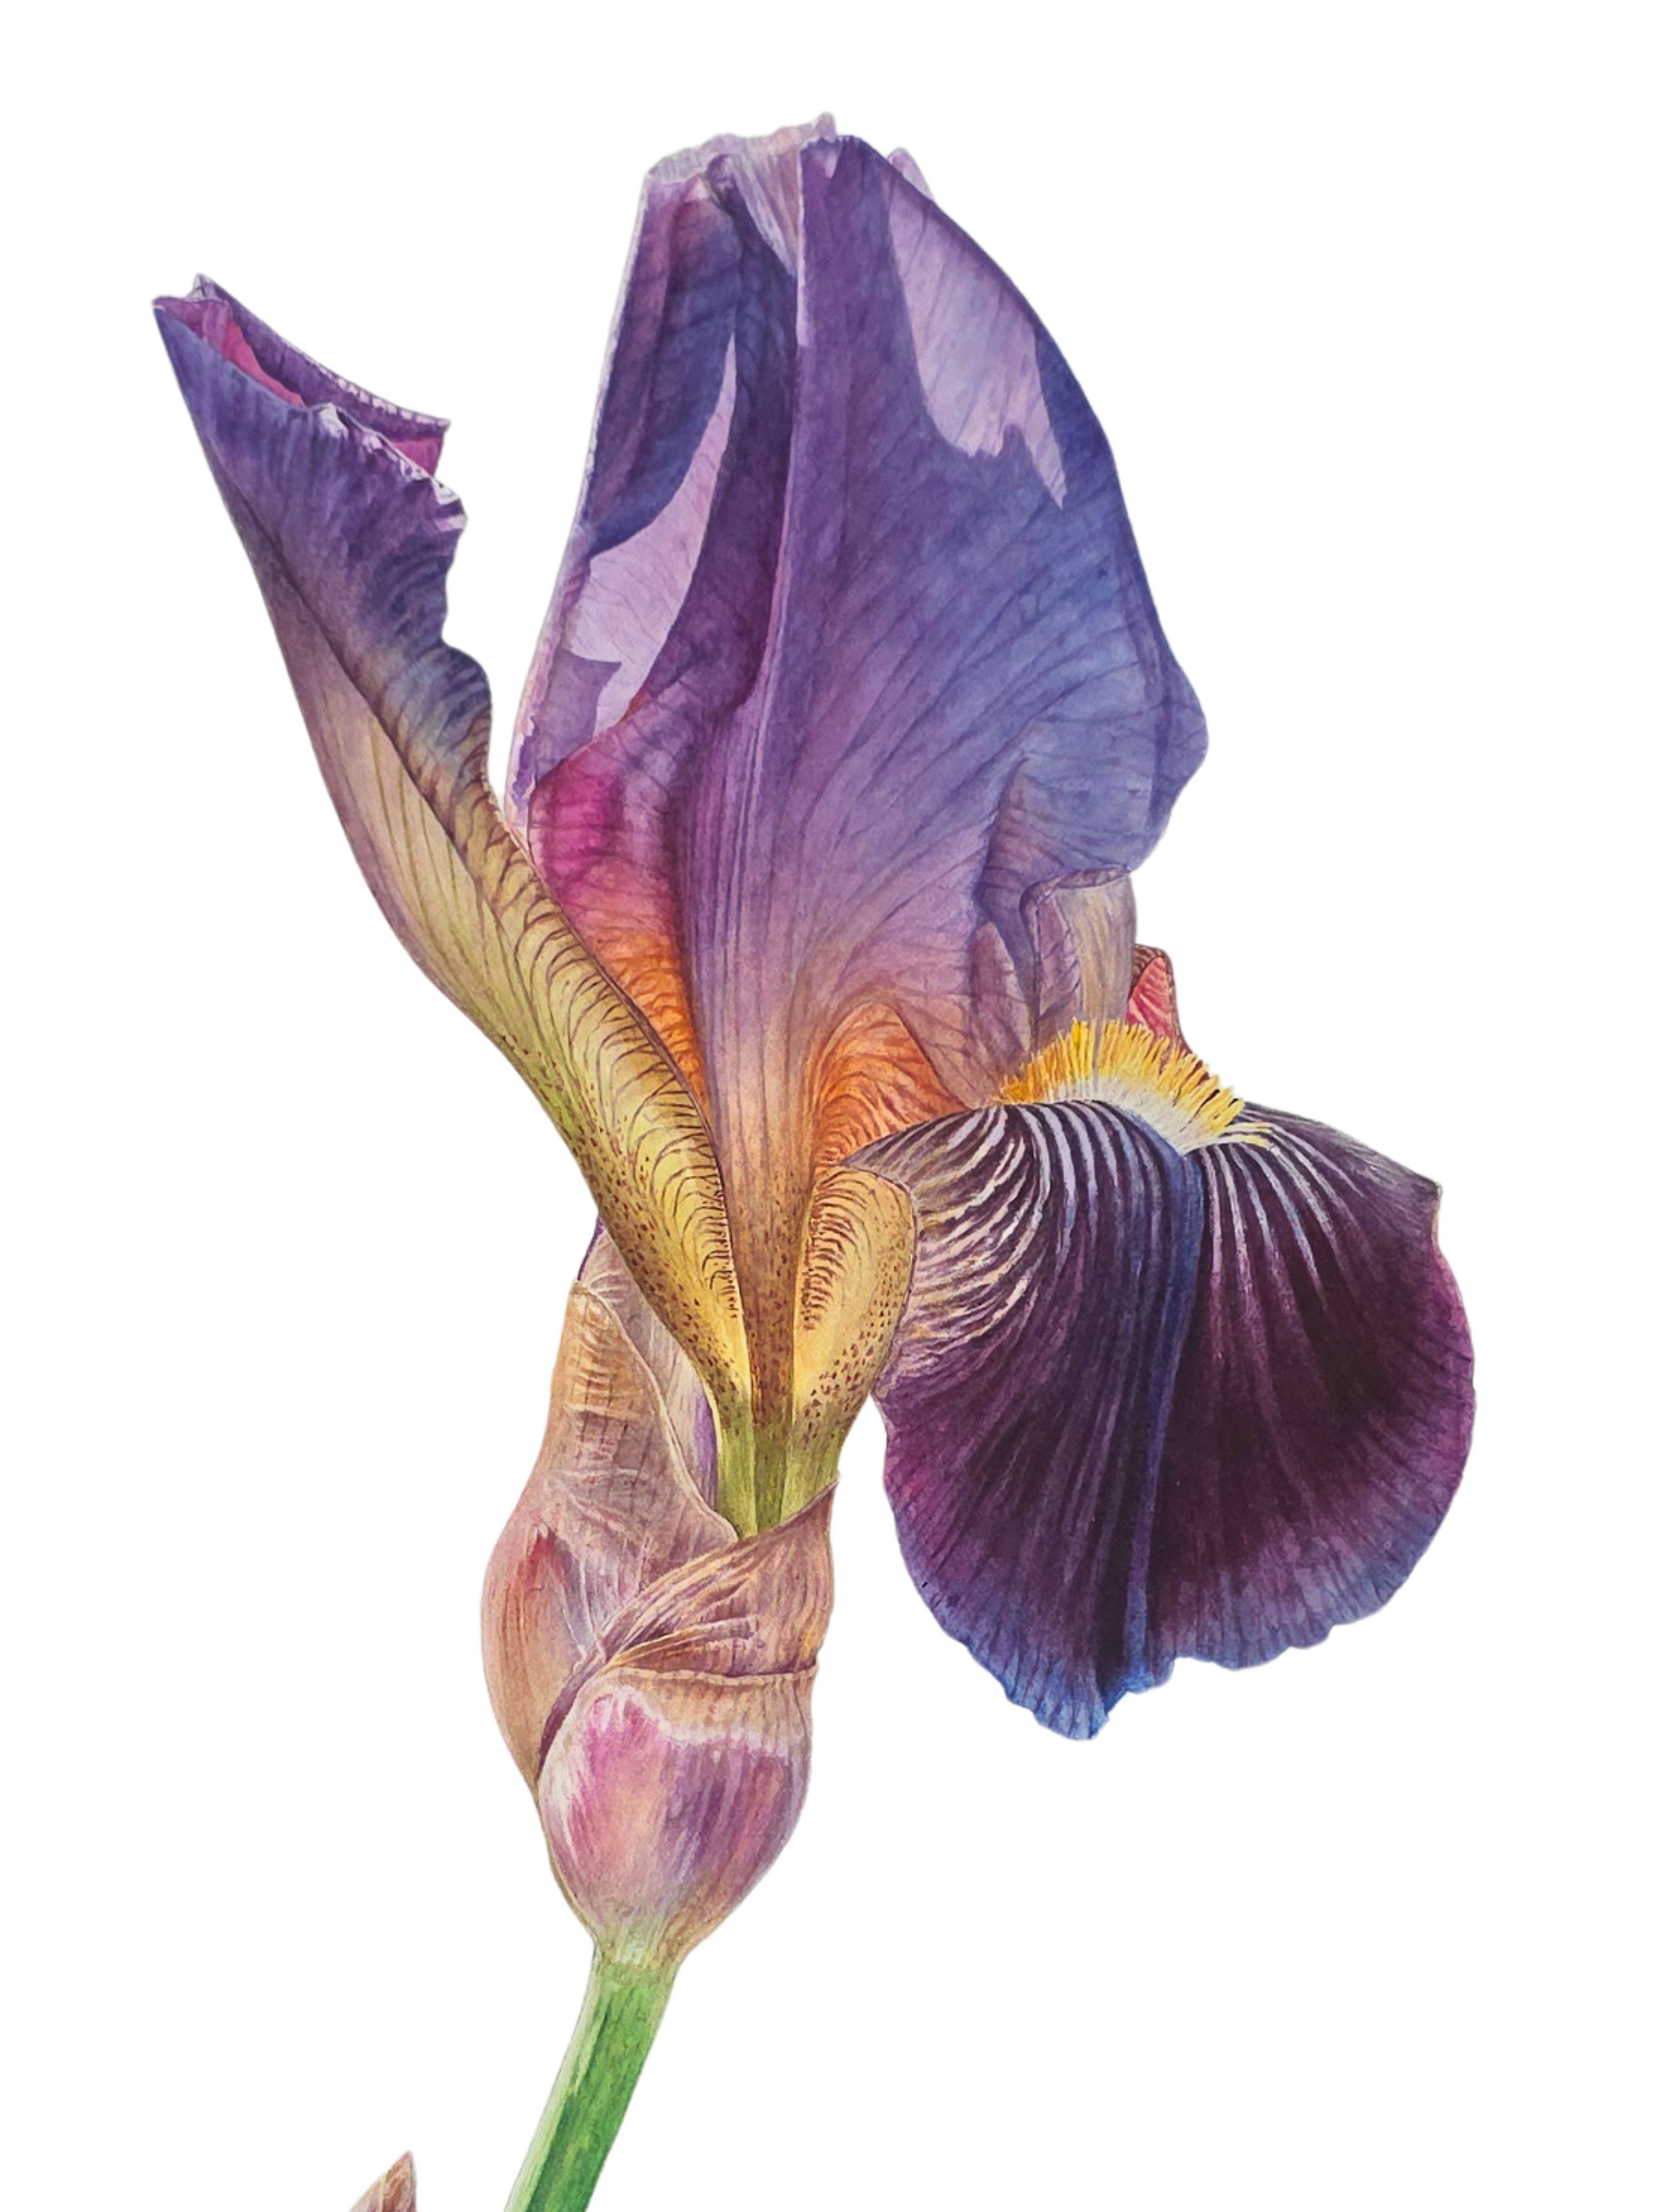
My latest painting, ‘The Point of Balance’ from my new ‘The Memory of Place’ collection really encapsulates everything I love. Structure, vibrancy, high contrast, and a subject with character.
Takeaway Tips:
Look at the art you admire.
Not just botanical, but all the art you love. Study them and see what it is within the piece that draws you in. For me it was light and drama. Rembrandt, Turner and Vermeer are the classical painters I love.
If not now, when?:
Whatever gets you into that first step, take it. Opportunities take many shapes and guises. For me it wasn’t a particularly nice one, but it opened an unexpected door. Our paths aren’t straight, and despite the twists and turns of life, something wonderful can happen. If the spark is there, listen to it.
All the gear, no idea:
You really don’t need all the kit that many artists swear by immediately. Start cheap and you won’t feel guilty for not painting every day. Good paper and paint, and a couple of decent brushes are really all you need to get going. The expensive ‘treats’, like that really lovely box of colours or brushes can come later. Support boards, palettes, magnifying glasses if you need them, lighting, and water pots can all be cheap homeware or charity shop buys. I’m still pretty frugal with kit.
New painting nerves:
We all get a bit anxious when starting a new piece. It’s just us and a big piece of paper. Before I start a new piece I always do a few painting exercises to warm up. 5 minute flowers, painting with the wrong hand and just having a bit of fun with colour and thumbnail ideas are an easy way to relax into the day. Manifesting and journaling are also intentional ways to plan and keep focus. Whatever works for you.
Next time. More stories behind my paintings, and tips from the studio.
J x